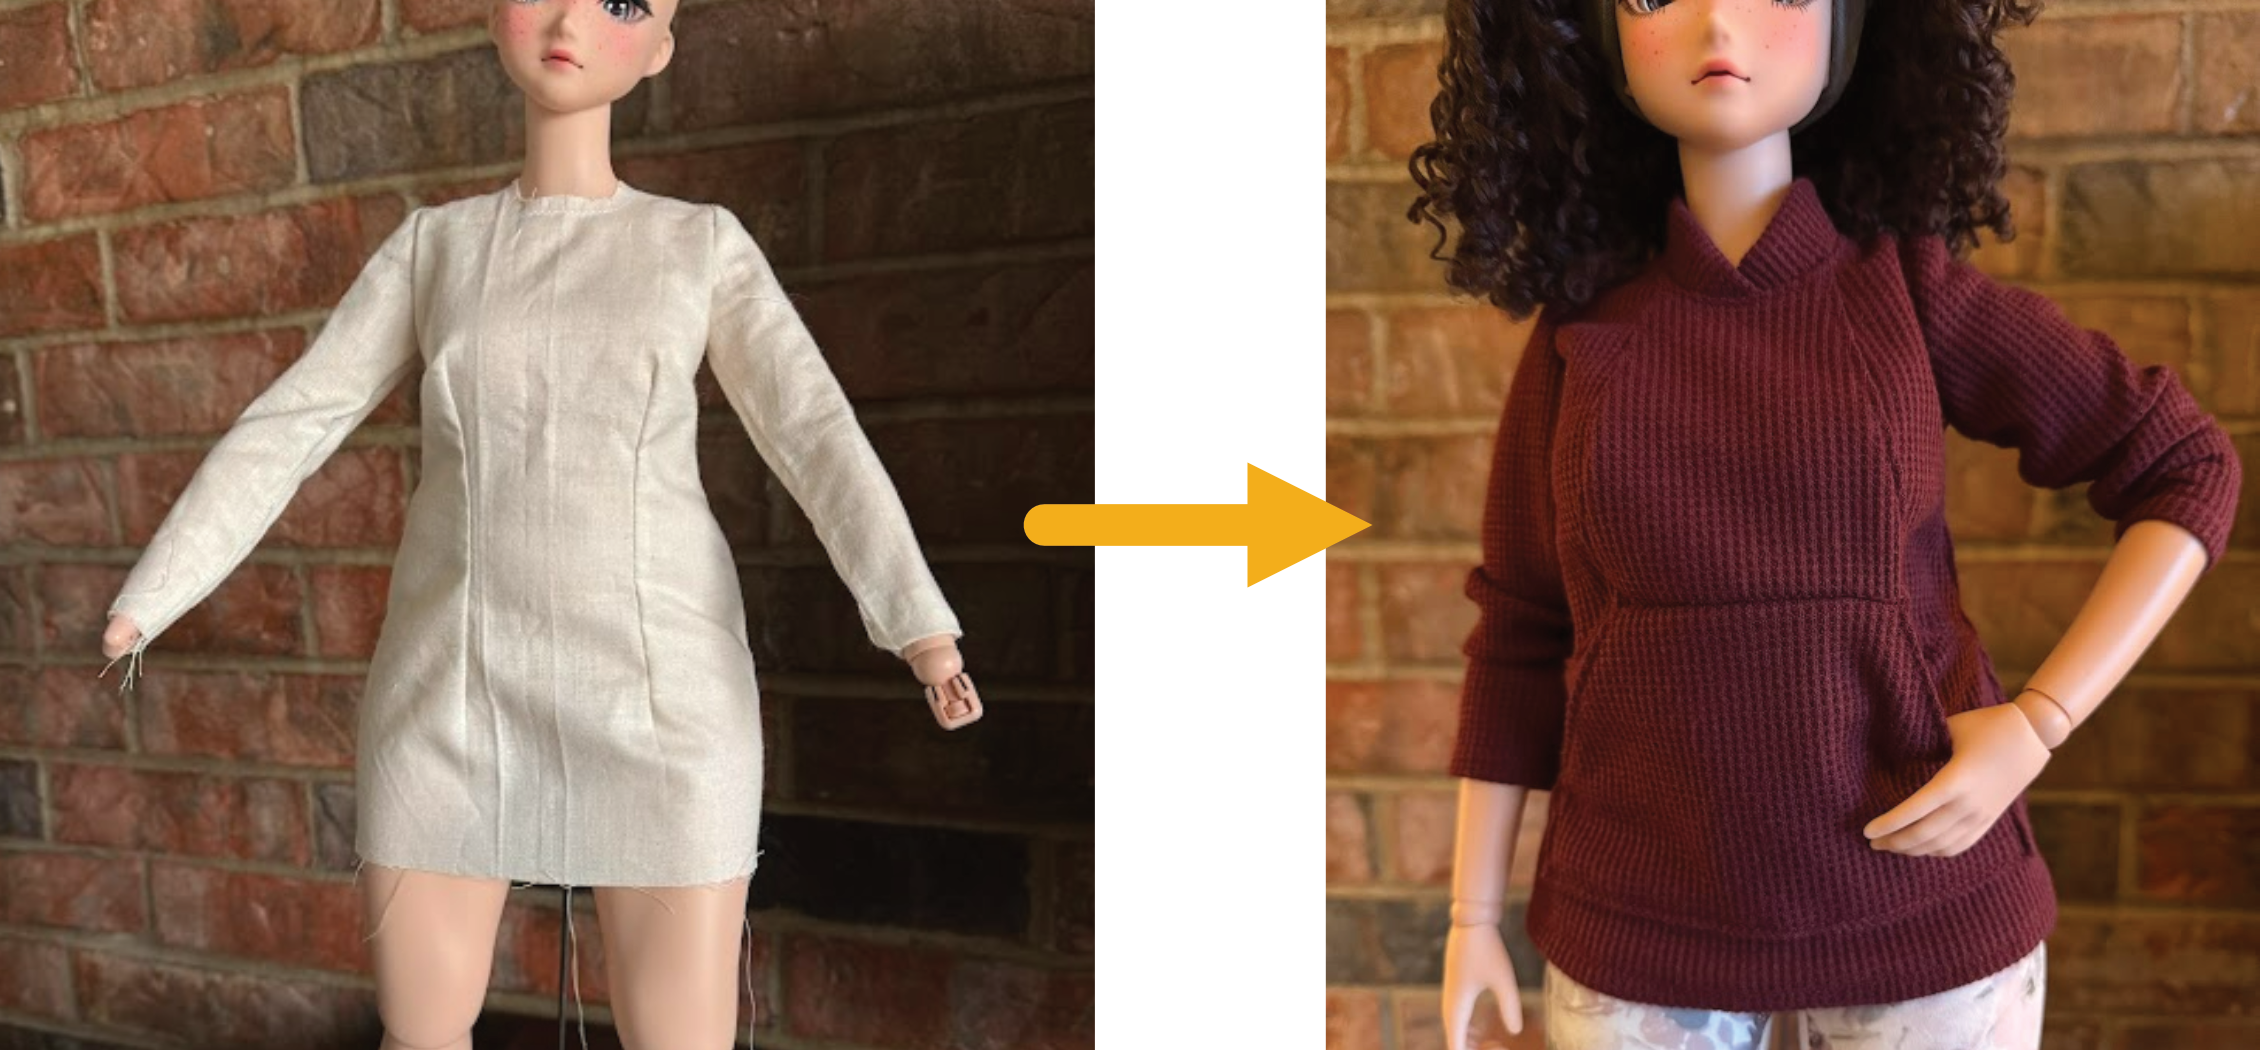
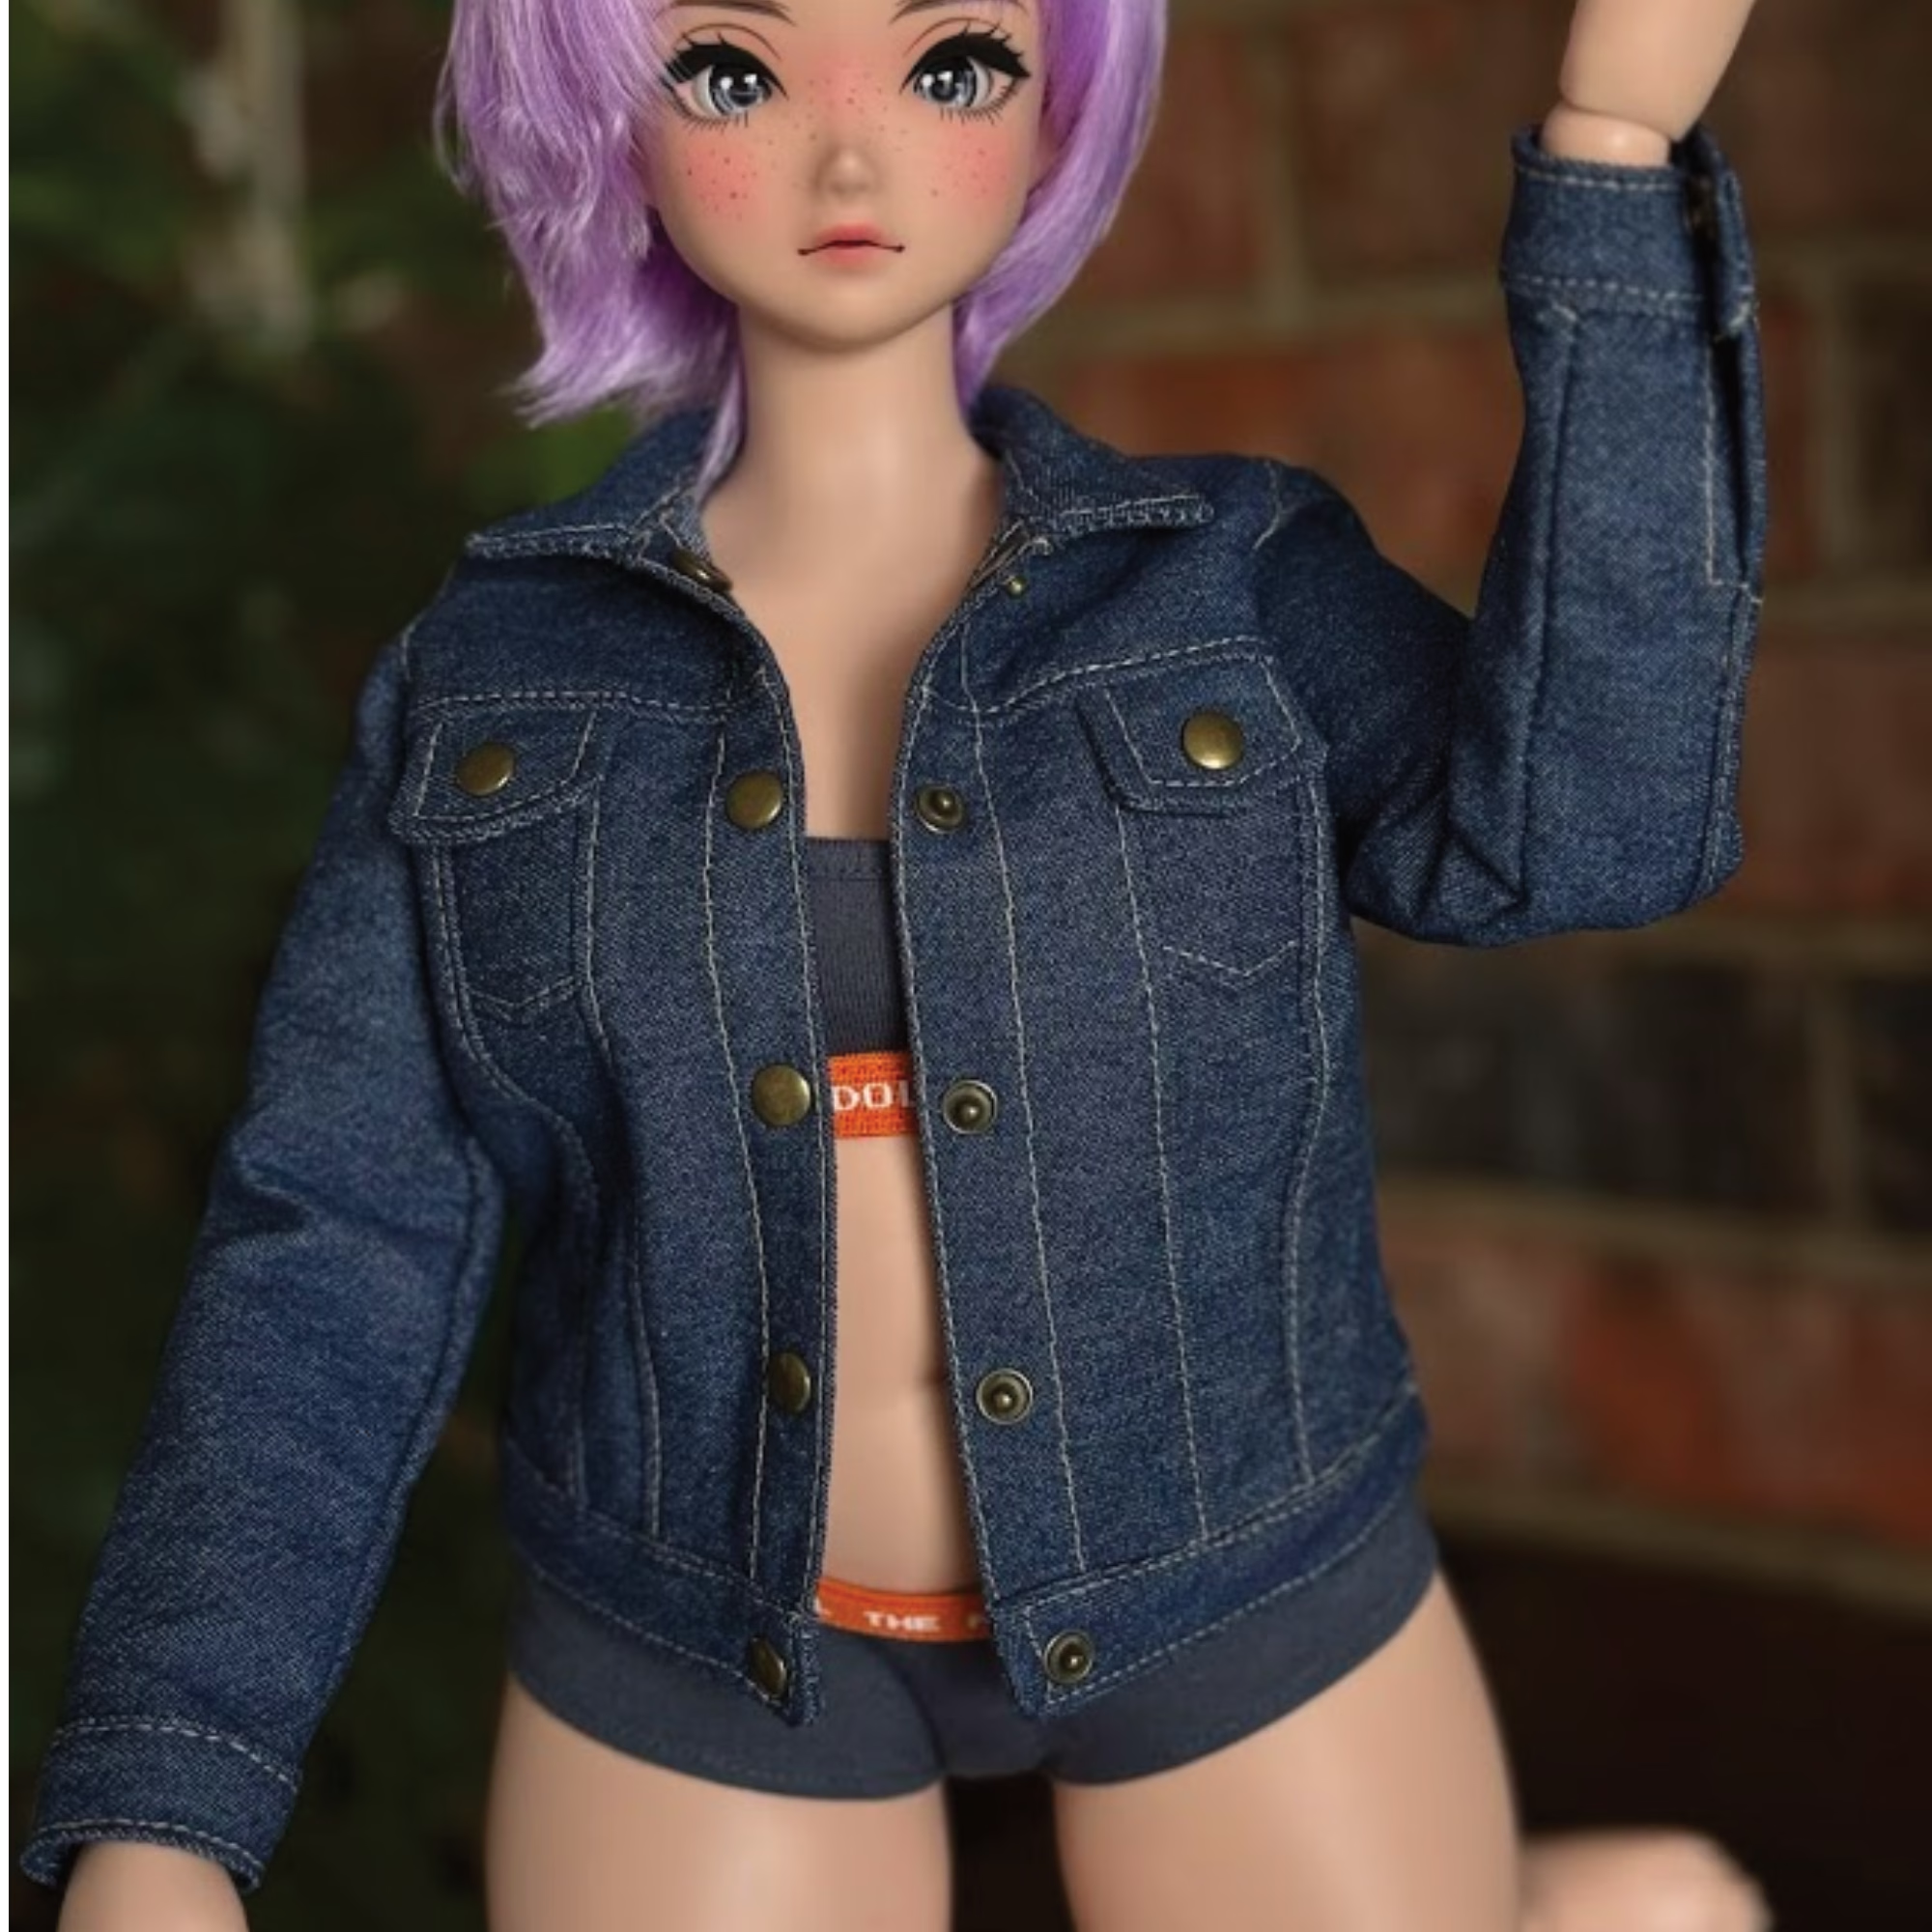
In this tutorial, I’ll demonstrate how I used the torso block pattern to create a sports shirt for Pear Smart Doll. I’ll go over step-by-step instructions.
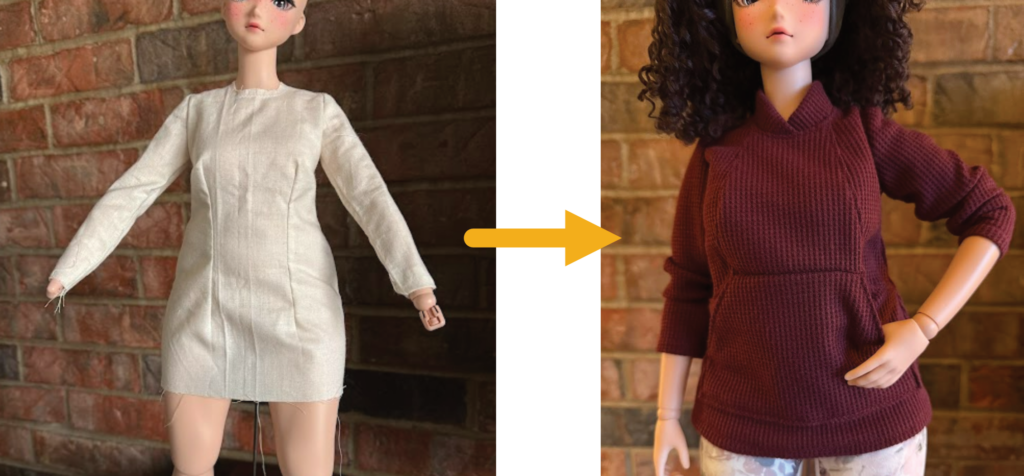
Supplies
Pencil
Paper for pattern
Straight ruler
French curve
Tape
Muslin fabric
Pins
Steps:
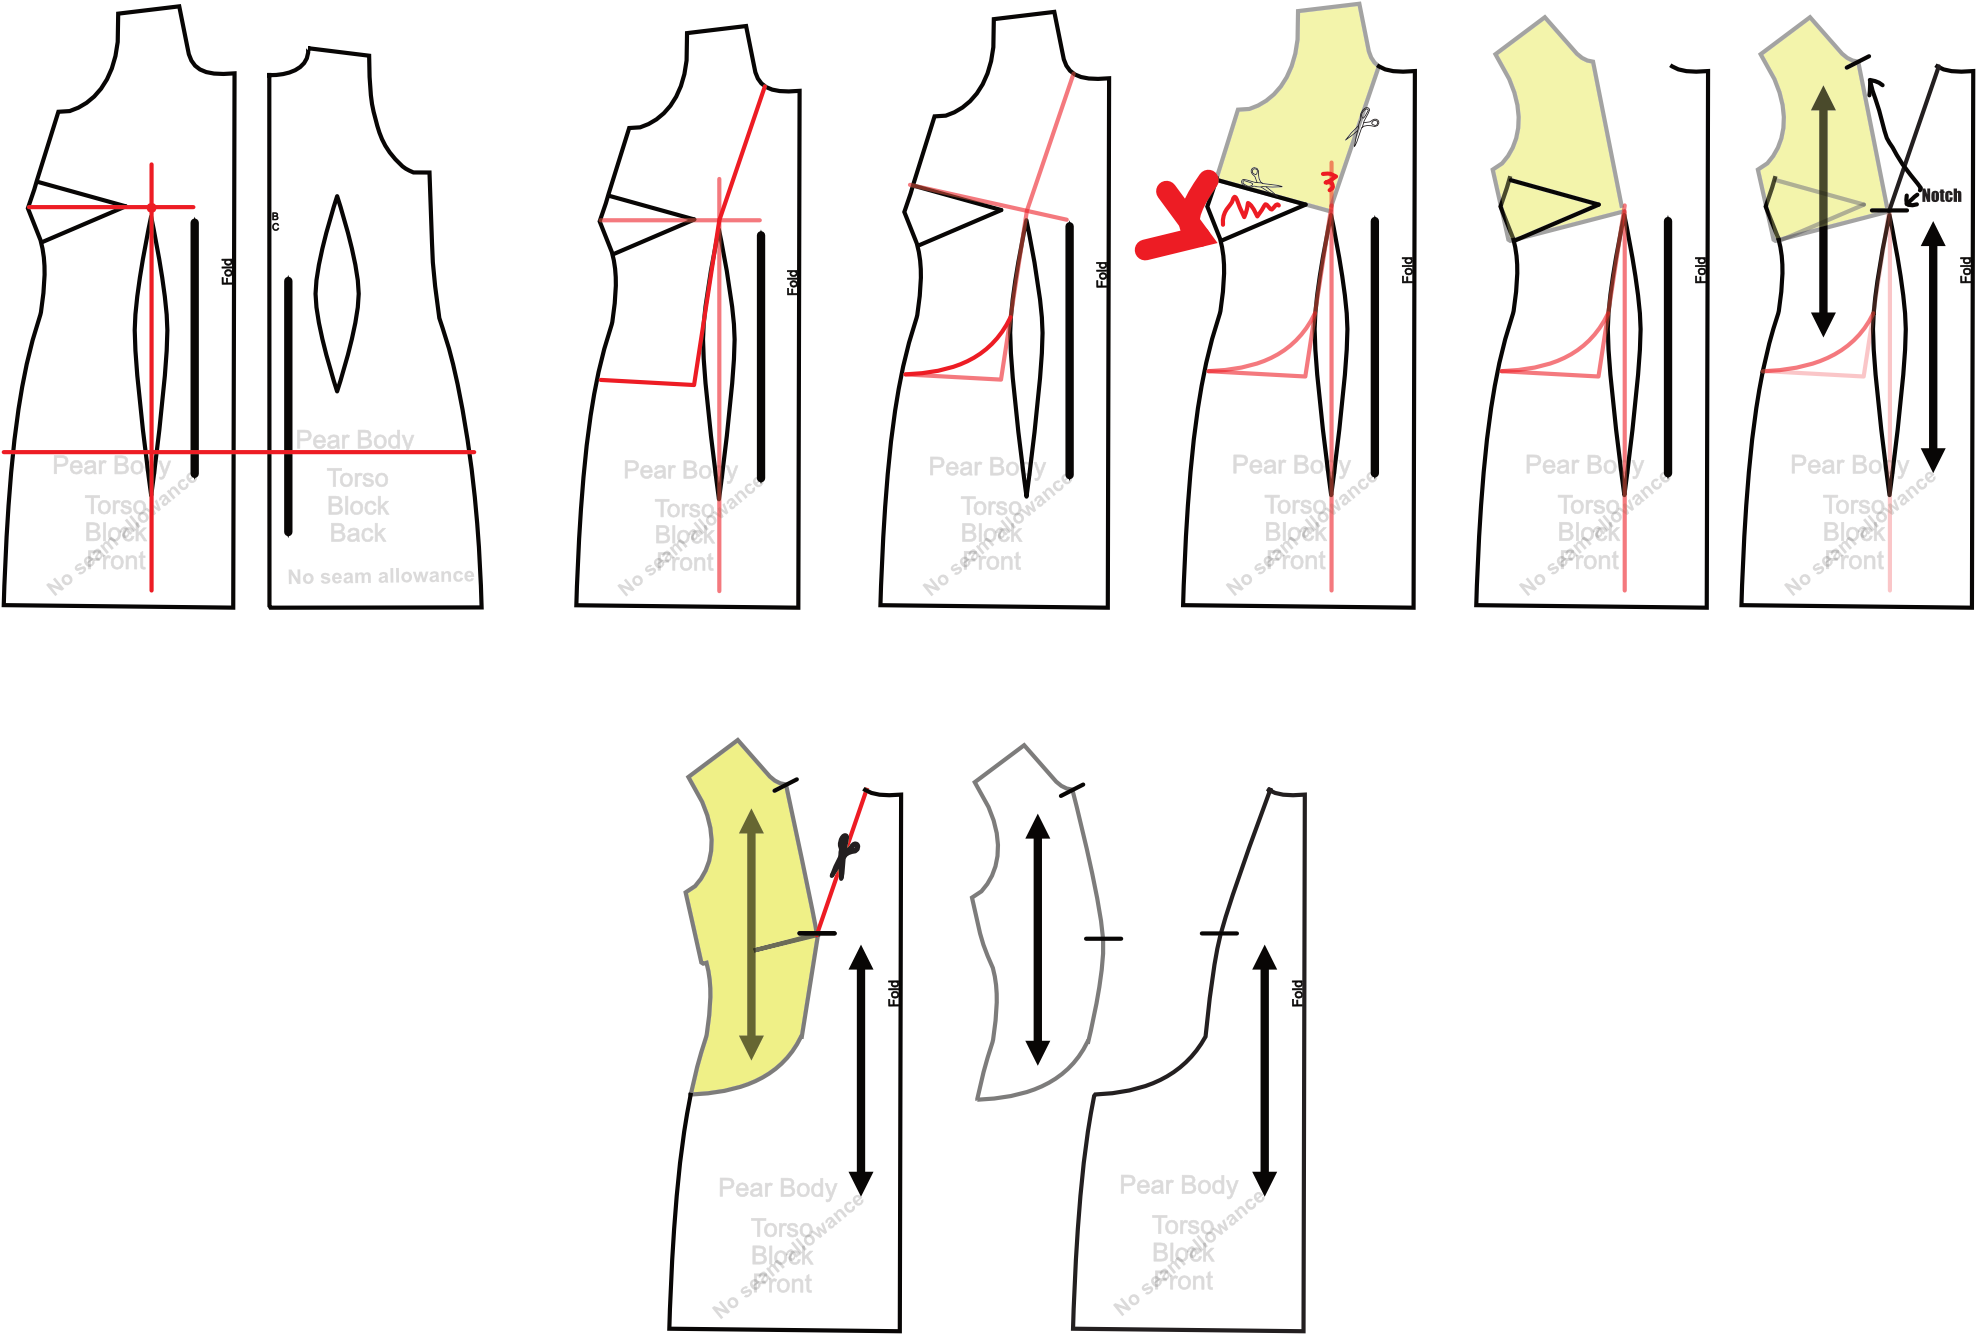
Front
- Decide the length you want and mark it on the front and back of the torso block.
- Draw straight lines connecting the waist and bust darts. The intersection of the two lines marks the apex (bust point)
- Decide where to move the dart at the neck to begin and draw a line from the neck along the waist dart to where the seam should end.
- Draw a horizontal line across the waist to connect the two.
- Draw a curve at the inner corner of the two lines.
- Add a grainline to the outer piece of the newly created piece.
- Add notches to the lower chest and the neck.
- Move the bust dart to the neck using the cut-and-spread method.
- Draw a cut line from the upper dart leg to the apex and cut, leaving a small uncut space for pivoting.
- Cut the neckline almost to the apex and the waist to the apex.
- Pivot the piece to close the chest dart and tape.
- Cut out the side piece and round out the created point.
Back
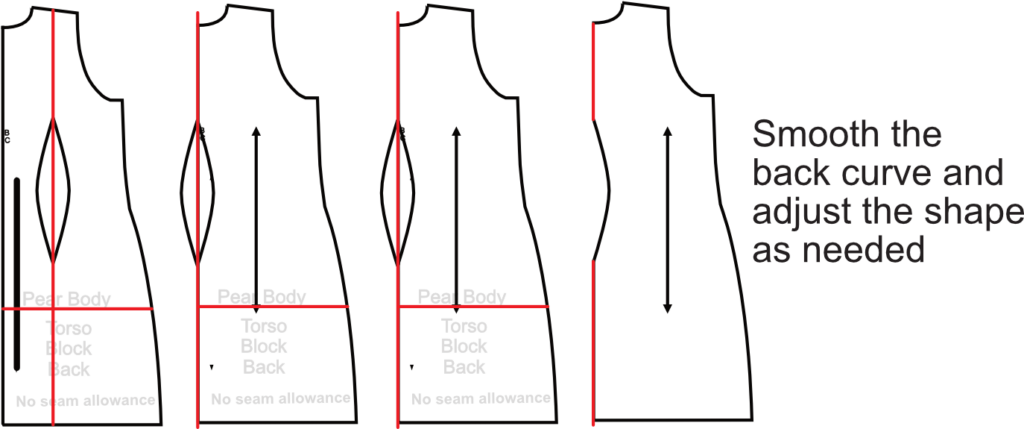
- Draw a vertical line along the center of the dart.
- Transfer half the dart to the back seamline.
Sleeve
The sleeve stays the same. Trace all the pattern pieces to another paper to add seam allowances.
- Add ½ inch to the sides of the bodice pieces and the sleeve width.
- Add ¼ inch to all the other sides.
- Transfer notches and grainlines to the pattern.
Muslin
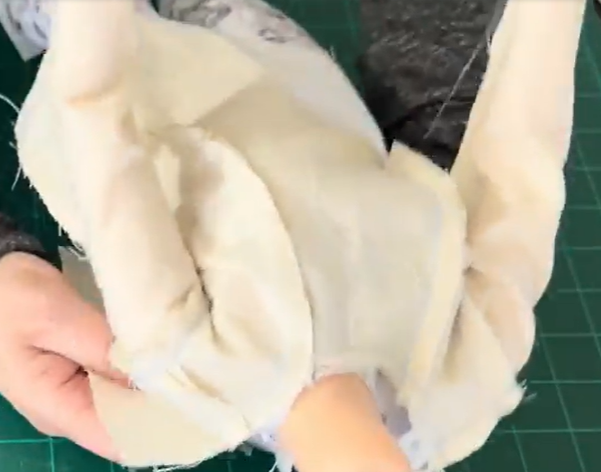
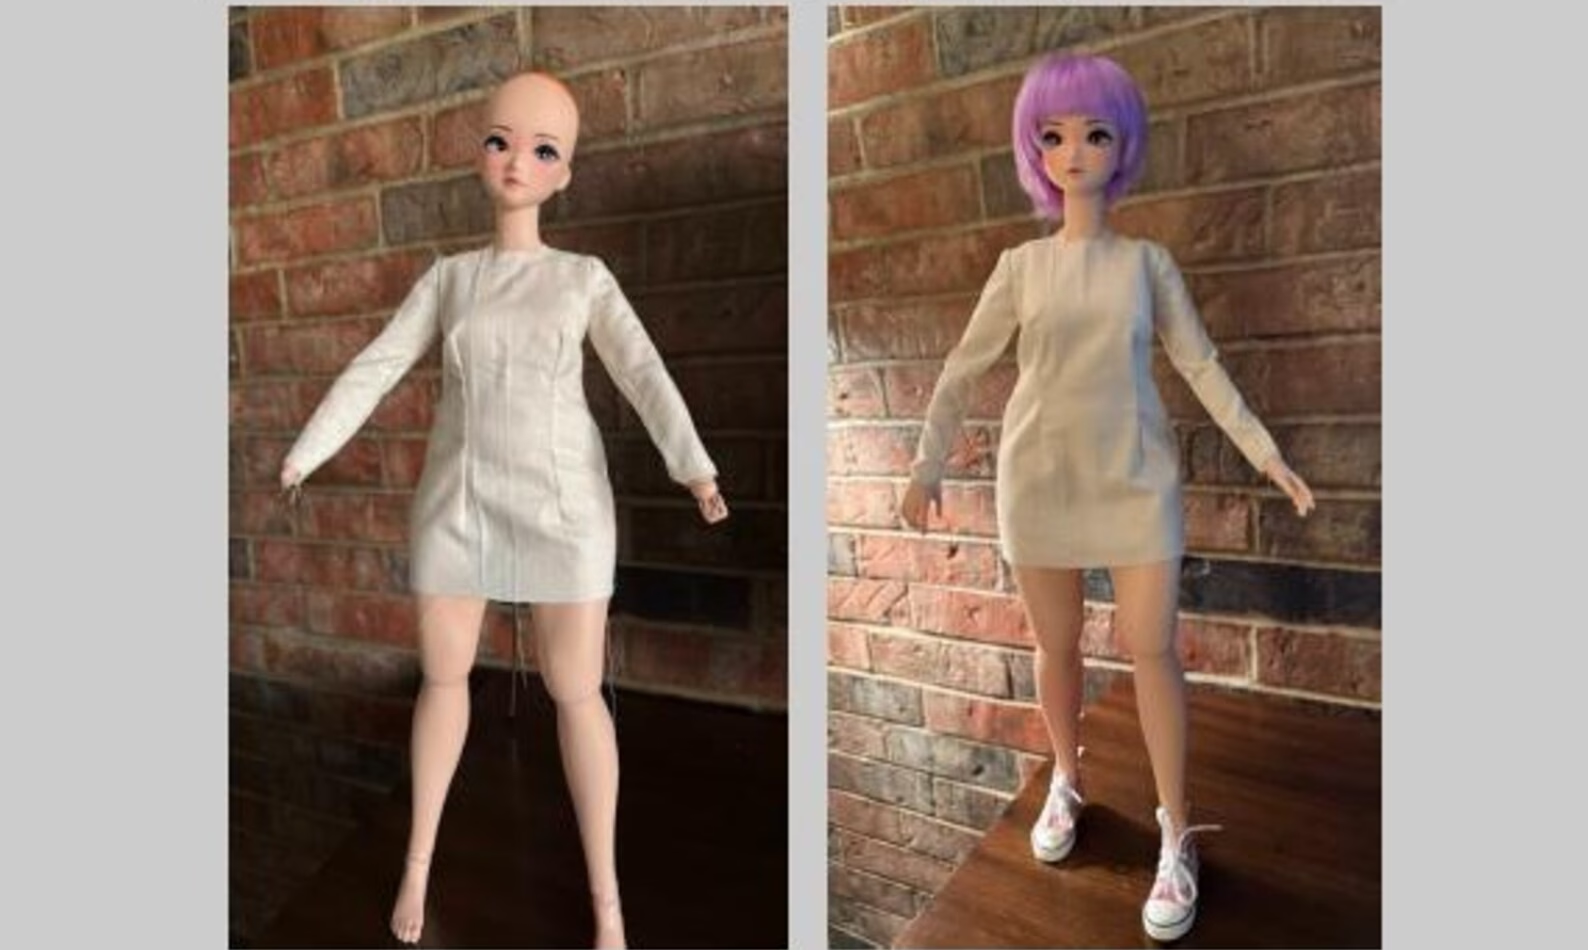
- Cut out and assemble the shirt from muslin for the final fitting. Please don’t cut the seam allowances on the muslin when sewing it because you need them to make adjustments for the final pattern. Leave the back open so it’s easy to dress the doll.
- Make a stay stitch around the neck opening and the back.
- Make any needed adjustments.
Drafting the Collar
- Measure the neck opening along the staystitch.
- Decide on the width of the collar.
- Draw a rectangle that measures the length of the collar plus the overlap by the width.
- Curve the rectangle at the center front.
- Fold the paper along the straight line of the newly drafted collar and use a tracing wheel or transfer paper to mirror the collar.
- Open it up and add a ¼-inch seam allowance all around the collar.
- Cut it from muslin and attach it to the test garment.
- Make adjustments as needed.

Muslin Mockup
Make a muslin mockup to create the final pattern.
- Mark the muslin on any adjustments made during the fitting.
- Take the marked muslin apart and trace any adjustments to the final pattern.
- Add embellishments, such as pockets, to the final pattern.
- Important: Make all adjustments on the sewing lines and add the seam allowances to the final pattern.
Once the final pattern is complete, if you are saving it for printing, save it as a PDF to keep the size correct.
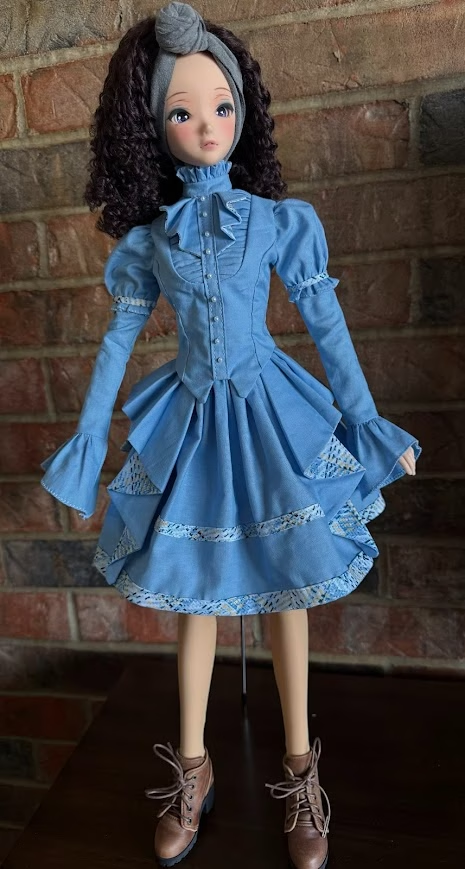
The complete drafted pattern is available for sale in my Etsy Shop.

Leave a Reply