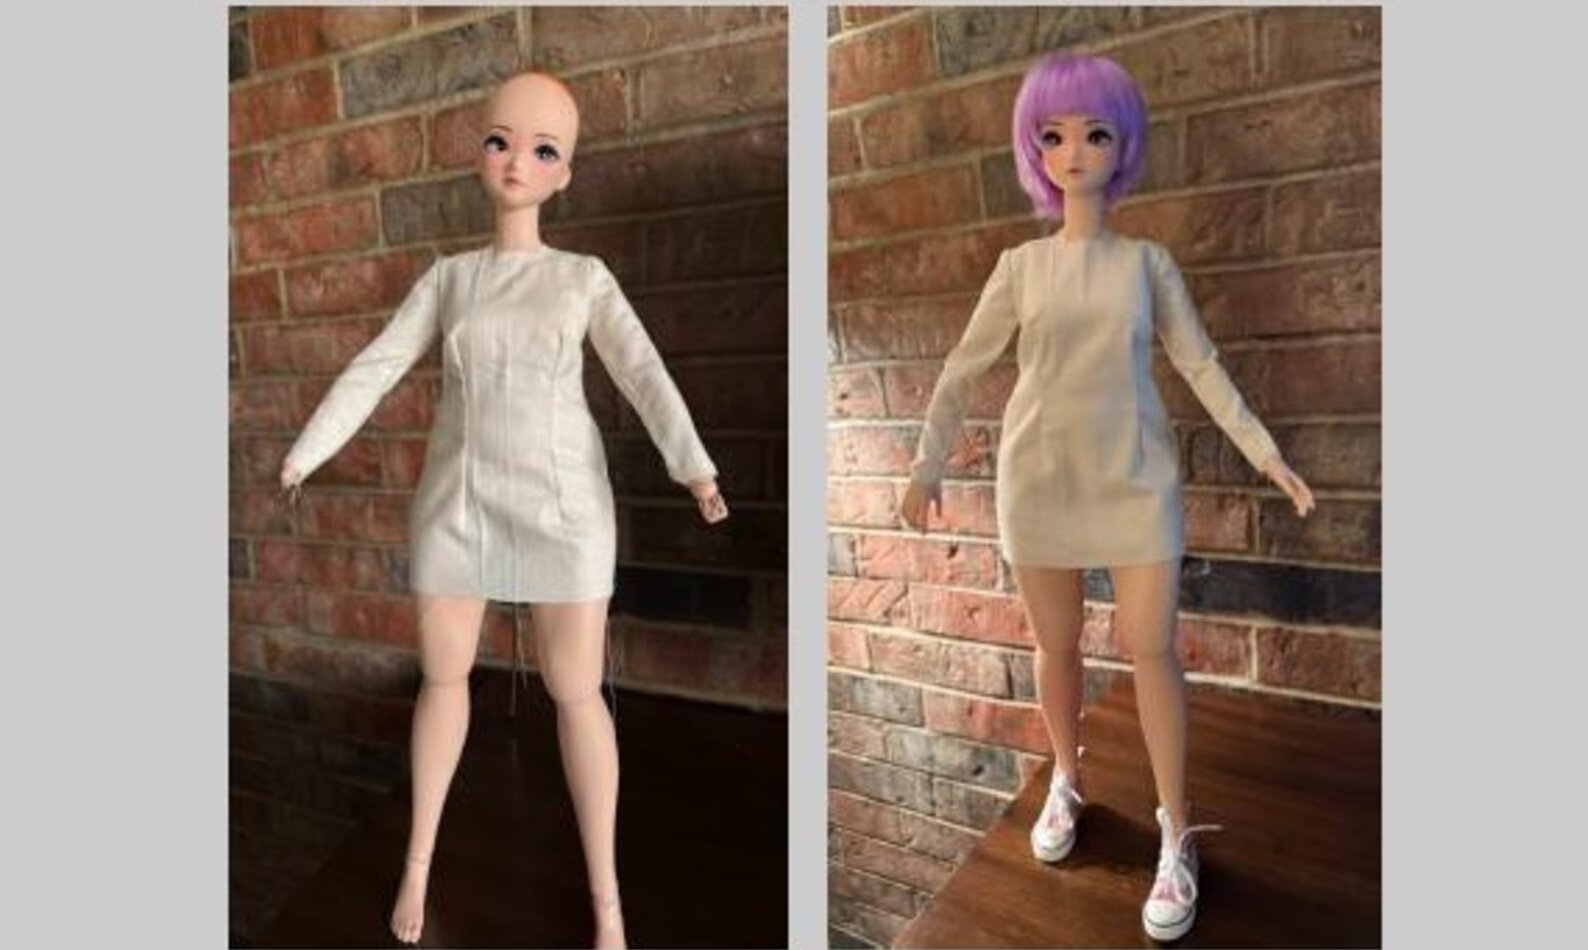
Are you ready to learn how to draft a basic sleeve Sloper for your dolls? It’s simpler than you might think! I’ll use my Pear Smart Doll as the model.
I followed the principles from Silvia Rosen’s Patternmaking: A Comprehensive Reference for Fashion Design. Although this book is for full-size patterns, the same steps work perfectly for 1/3 doll clothes. I’ve also included references to helpful YouTube tutorials at the end of this guide.
Let’s get started!
Materials: In addition to your bodice front and back pattern pieces, you’ll need the following:
PaperRulerFrenchcurvePencil- Tape measure
For this tutorial, I’m using my Pear Smart Doll measurements. CM measurements are more practical and easier to work with than fractional inches.
Sleeve Length: Shoulder tip to wrist 19.5 cm
Sleeve Cap: Shoulder tip to level bicep 4.5 cm
Elbow: Shoulder tip to elbow 10.5 cm
Armscye Front: From bodice pattern front 6 cm
Armscye Front: From bodice pattern back 6.5 cm
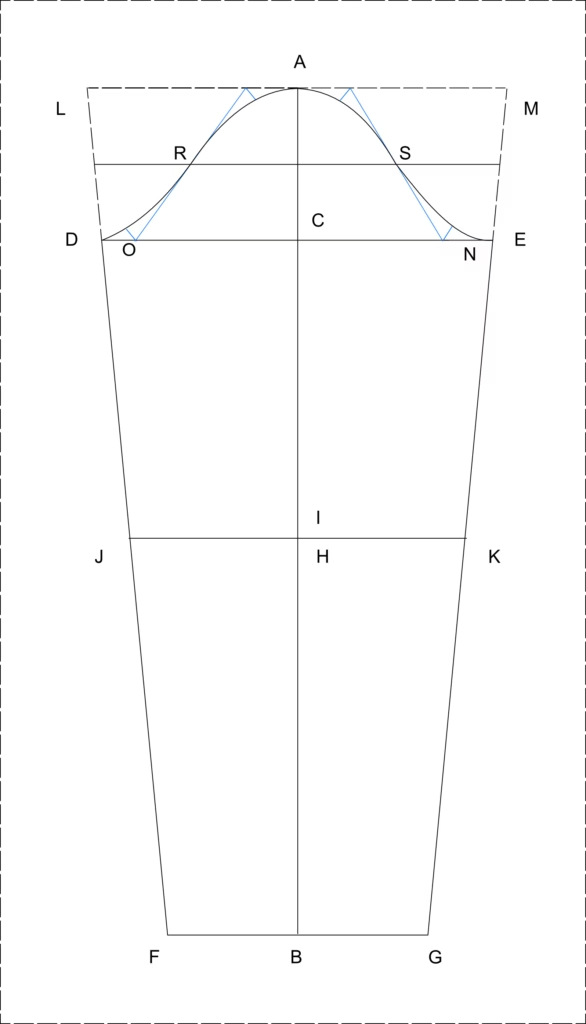
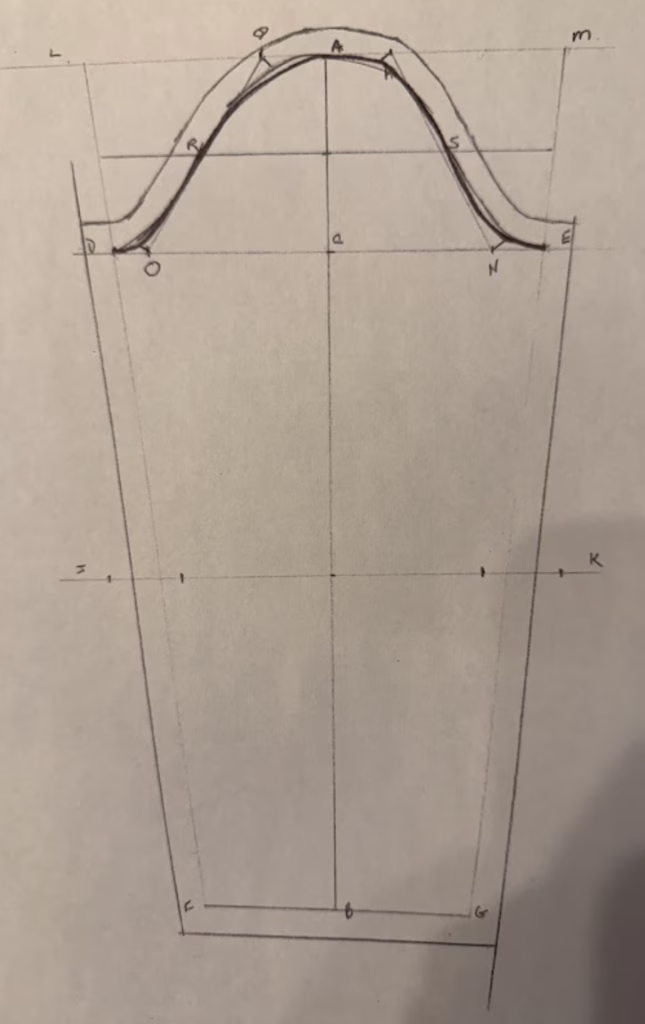
Step 1: Center Line: Draw the center line of your sleeve from the top (shoulder point) to the bottom (wrist point). Label A-B.
Note: Labeling the points and lines references successive lines.
Step 2: Underarm/bicep line: Draw a perpendicular line to A and B at the level of the cap height. Label C at the center to indicate the cap height (A-C). Label the cross-line D-E (bicep). D-E should be centered.
Step 3: Draw the Wrist line at B and label F-G.
The elbow line is also marked in the book instructions, but I found it unnecessary for this simple pattern because I won’t be making a dart. I will label it to follow the book instructions.
Step 4: Draw a cross line at A. Connect F to D, extending it to intersect the cross line at A. Mark the intersection as L.
Step 5: Repeat step 4 with the points G-E and label the intersection M
Draw the sleeve cap following the next steps
Step 6: Mark point N on lines C-E. That’s ¼ of its measurement. Draw a short diagonal line on N.
Step 7: Mark point O on line C-D, which is 1/6 of its measurement. Draw a short diagonal line on O.
Step 8: Draw the elbow line length at the elbow mark.
Step 9: Mark point P on lines A to M, that is, ¼ of its measurement. Draw a short diagonal line at P
Step 10: Mark point Q on lines A to L, that is ¼ of its measurement. Draw a short diagonal line on Q.
Step 11: Draw a diagonal line to divide the sleeve cap and mark the intersecting points R and S, respectively.
Step 12: Draw the back shape of the sleeve cap following points A to R and R to D.
Step 13: Draw the front sleeve cap following points A and S to E
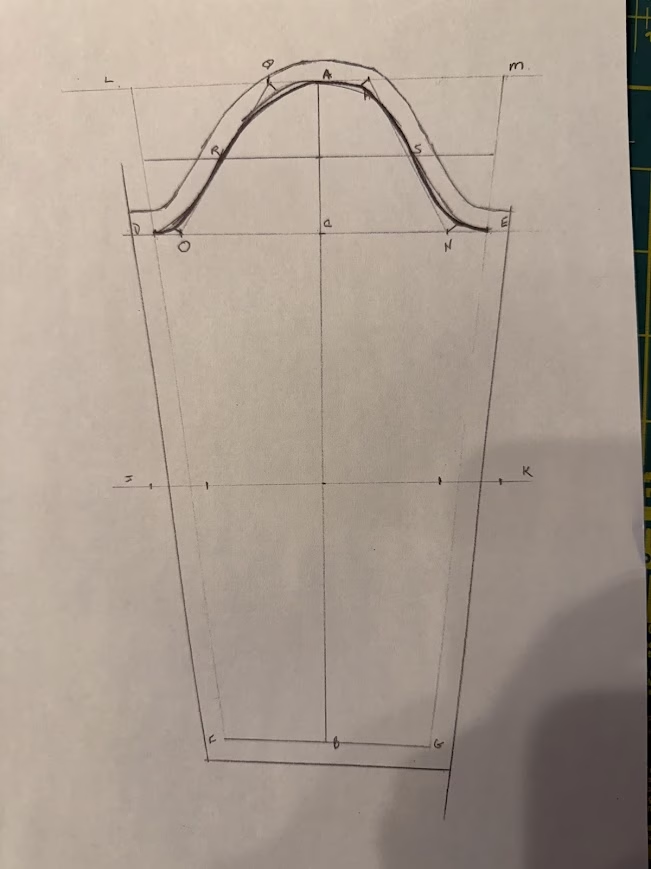
Finally, add seam allowances. I usually add ¼ inches to my pattern. Cut the finished pattern from muslin and sew it for a test fit.
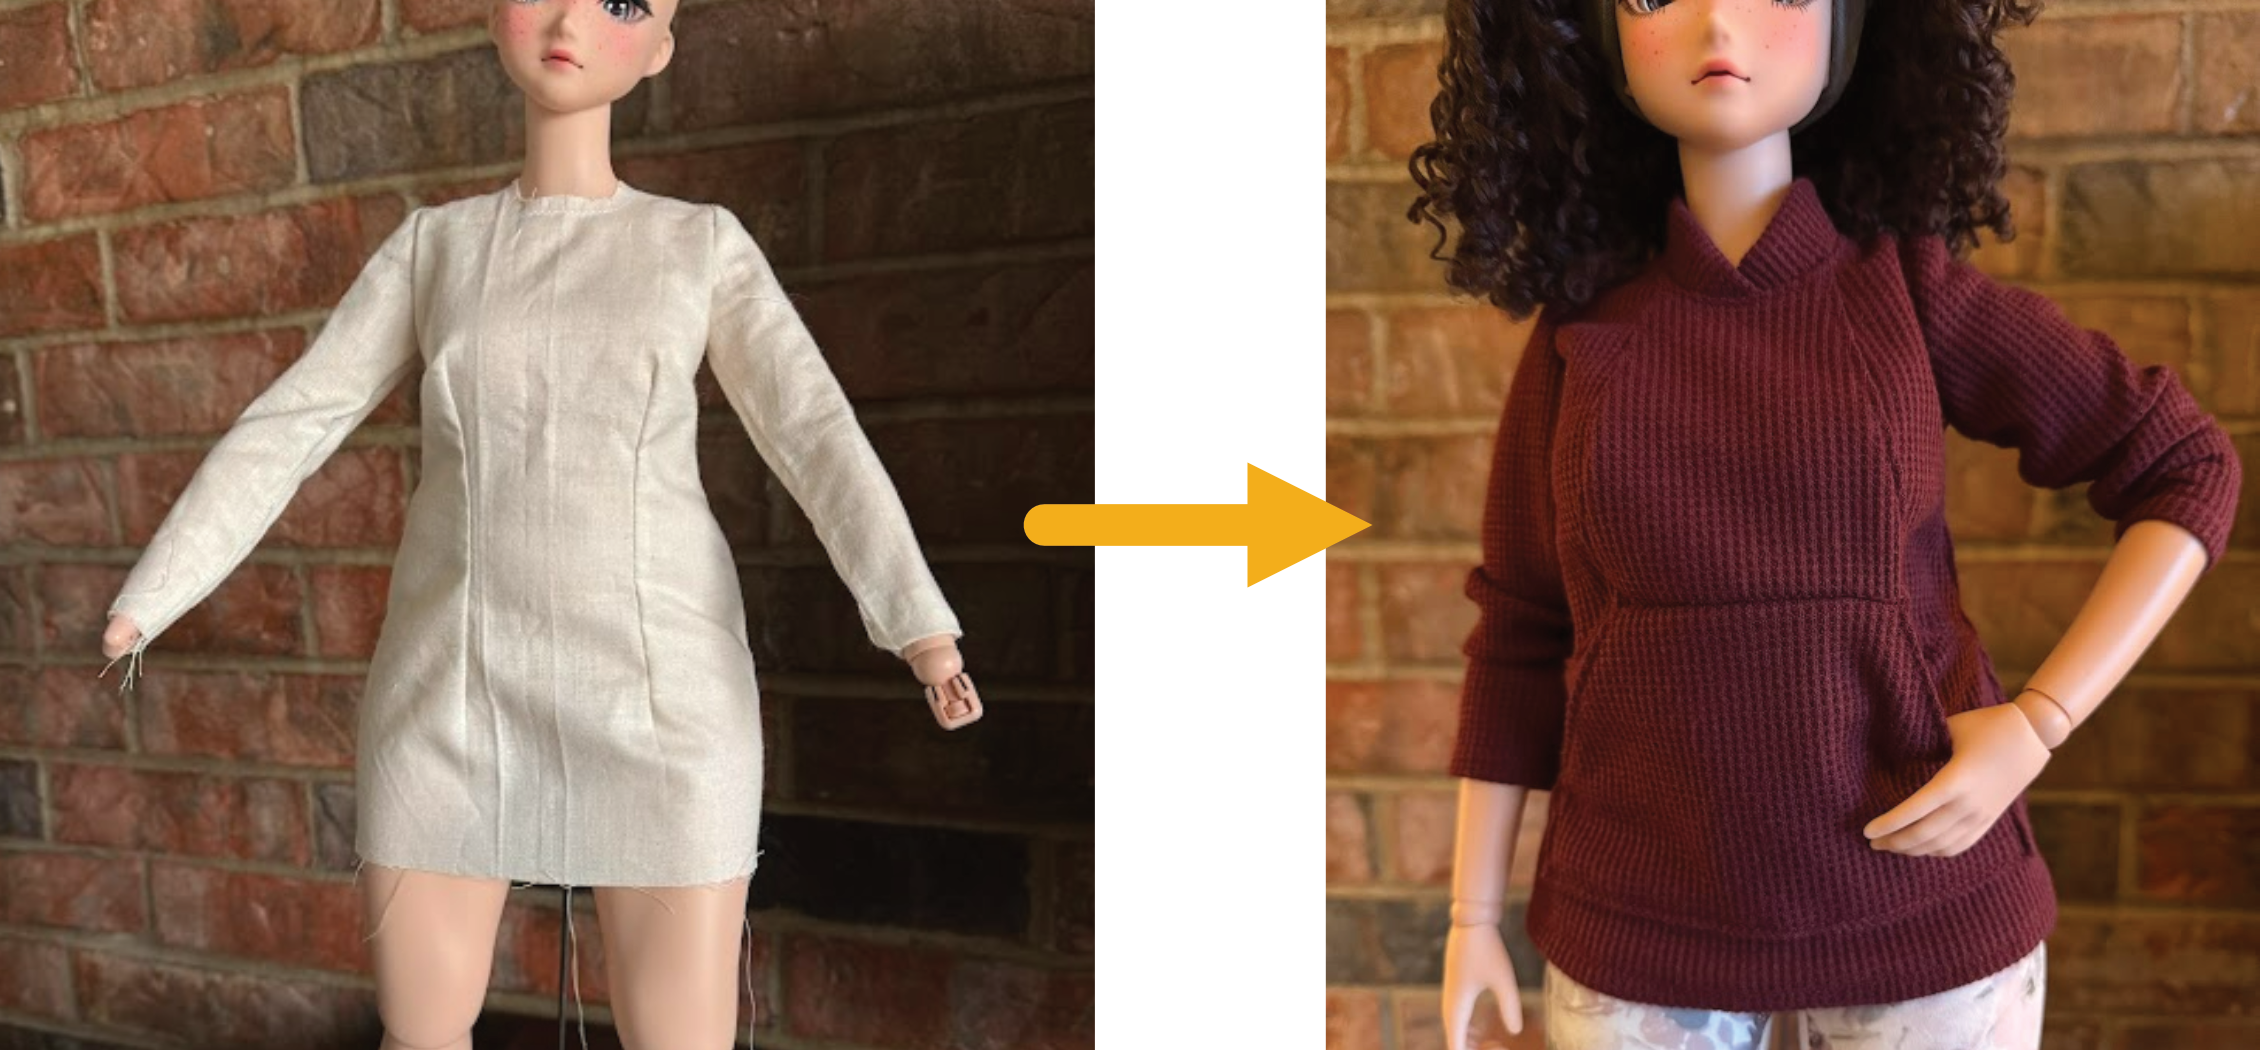
Drafting won’t give you a perfect fit—that’s the purpose of making the muslin. Most pattern drafting aims to create a silhouette rather than an exact 3D model.
References:
- Betty a la mode. (2024, October 19). How to draft sleeve pattern from bodice | Basic Sleeve Pattern Tutorial [Video]. YouTube. https://youtu.be/nTKqSSFIR2A?si=hd8zYrdSvZmGQ7z8
- Rosen, S. (2004). Patternmaking. Pearson/Prentice Hall.
- Arola, M. (2022, November 15). How to sew different types of sleeves. The Shapes of Fabric.


Leave a Reply